Plans, wallet and billing

Wallets and credits

Boogir plans are paid with credits from a Talkou wallet. Learn how to create a wallet, allow it to pay for Boogir, choose it as your Payment Wallet and add credits.

Guide · FinanceChanras SunChanras Sun4 days ago · 4 min read · 3 views

Everything you pay for on Boogir is paid with credits. Credits are not kept in Boogir itself. They live in a wallet in Talkou, the account you use to sign in to Boogir.

Before you can buy a plan, you need three things:

  • a Talkou wallet,
  • that wallet allowed to pay for Boogir, and
  • that wallet chosen as your Payment Wallet in Boogir.

Each credit has a reference value of USD 0.10. Boogir uses it to set plan prices and to convert earnings when a space cashes out.

Get a wallet ready in Talkou

01
Open your wallets in TalkouSign in to Talkou on the web or in the Talkou app and open Wallet.
02
Create a walletSelect Create wallet and follow the steps. Skip this if you already belong to a wallet you want to use.
03
Allow Boogir to use the walletOpen the wallet's Preferences, find Platforms (the platforms this wallet is allowed to pay for), tick Boogir and save.

Once the wallet is ready, choose it in Boogir as your Payment Wallet. Boogir then uses it for every plan you buy. You can check its balance any time on the Payment & Refund page, and you can also change the wallet from the Confirm subscription sheet when you buy a plan, under Pay from.

On a computer

Choose your Payment Wallet
01
Open Manage SubscriptionOpen the account menu (User & Settings) and under Billing select Manage Subscription.
02
Pick the walletIn the Payment Wallet box, select Select Wallet, or Change if a wallet is already chosen.
03
ConfirmSelect the wallet in the list. Boogir shows Wallet selected. and uses this wallet for every plan you buy from now on.
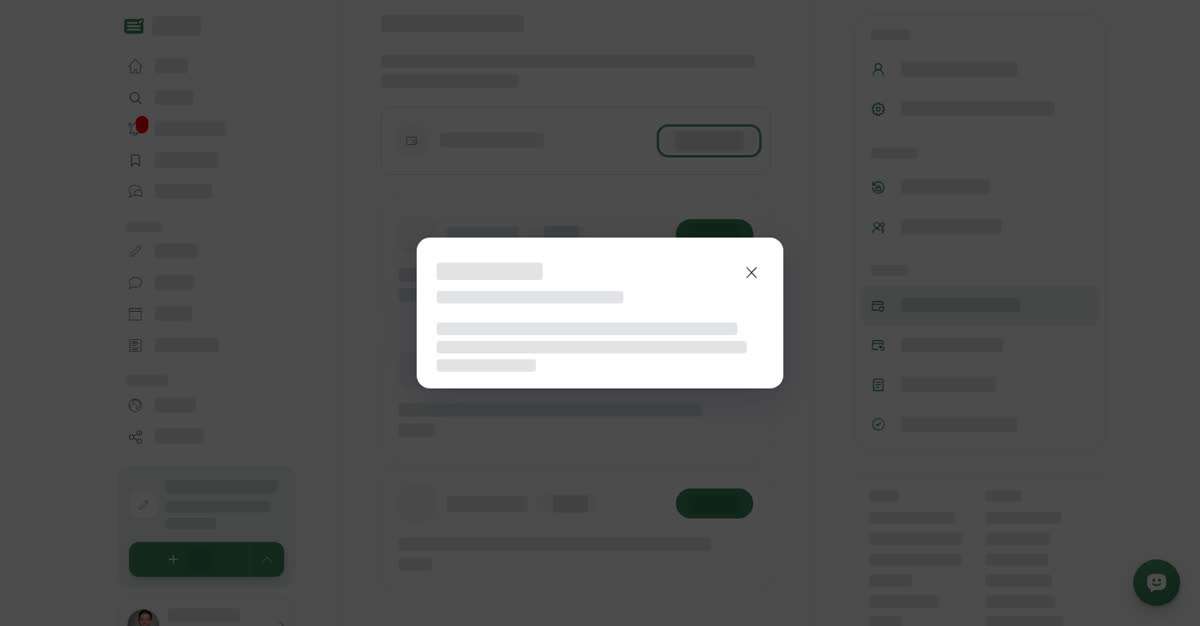
The Payment Wallet picker open over the Manage Subscription page, listing the wallets that can pay for Boogir
Only wallets that are allowed to pay for Boogir appear in the list.

Check your balance

Open the account menu and select Payment & Refund. The Pay tab shows your Payment Wallet's name and its balance under Usage credits.
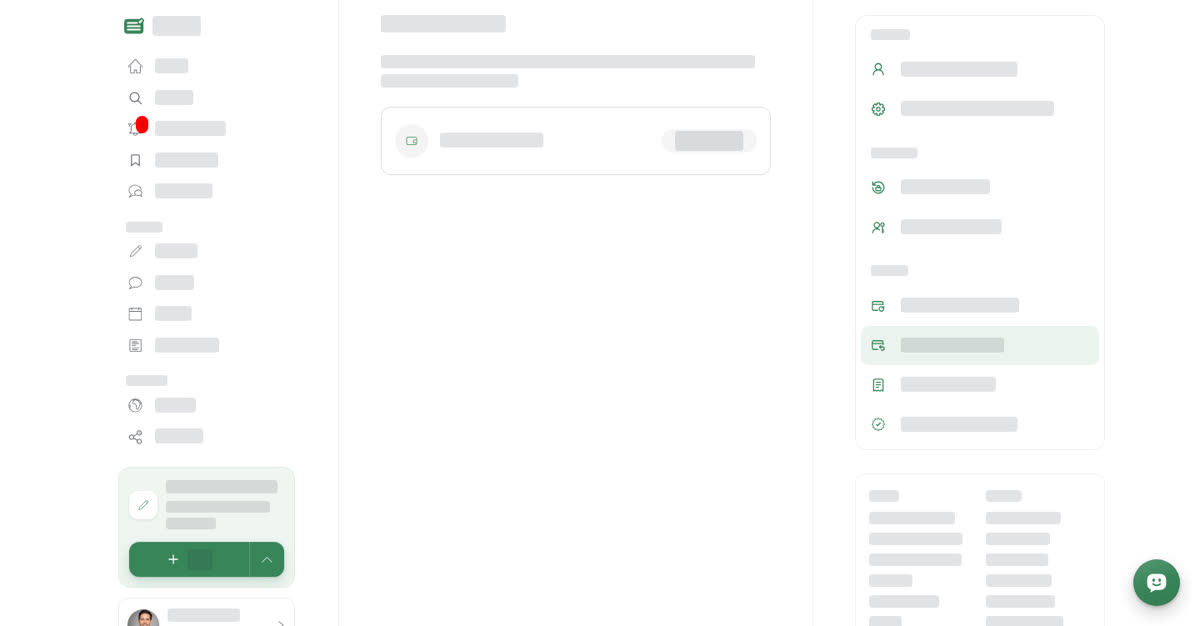
The Pay tab of the Payment & Refund page showing the wallet name, the Usage credits balance and the Add Credits button

On your phone

These steps are the same in the Boogir app and on boogir.com in your phone's browser. Buying credits is the one exception: it works only in the app.

Choose your Payment Wallet
01
Open Manage SubscriptionTap **Account** in the bottom bar. Under **Billing**, tap **Manage Subscription**.
02
Pick the walletIn the **Payment Wallet** box, tap **Select Wallet**, or **Change** if a wallet is already chosen.
03
ConfirmTap the wallet in the list. Boogir shows **Wallet selected.** and uses this wallet for every plan you buy from now on.
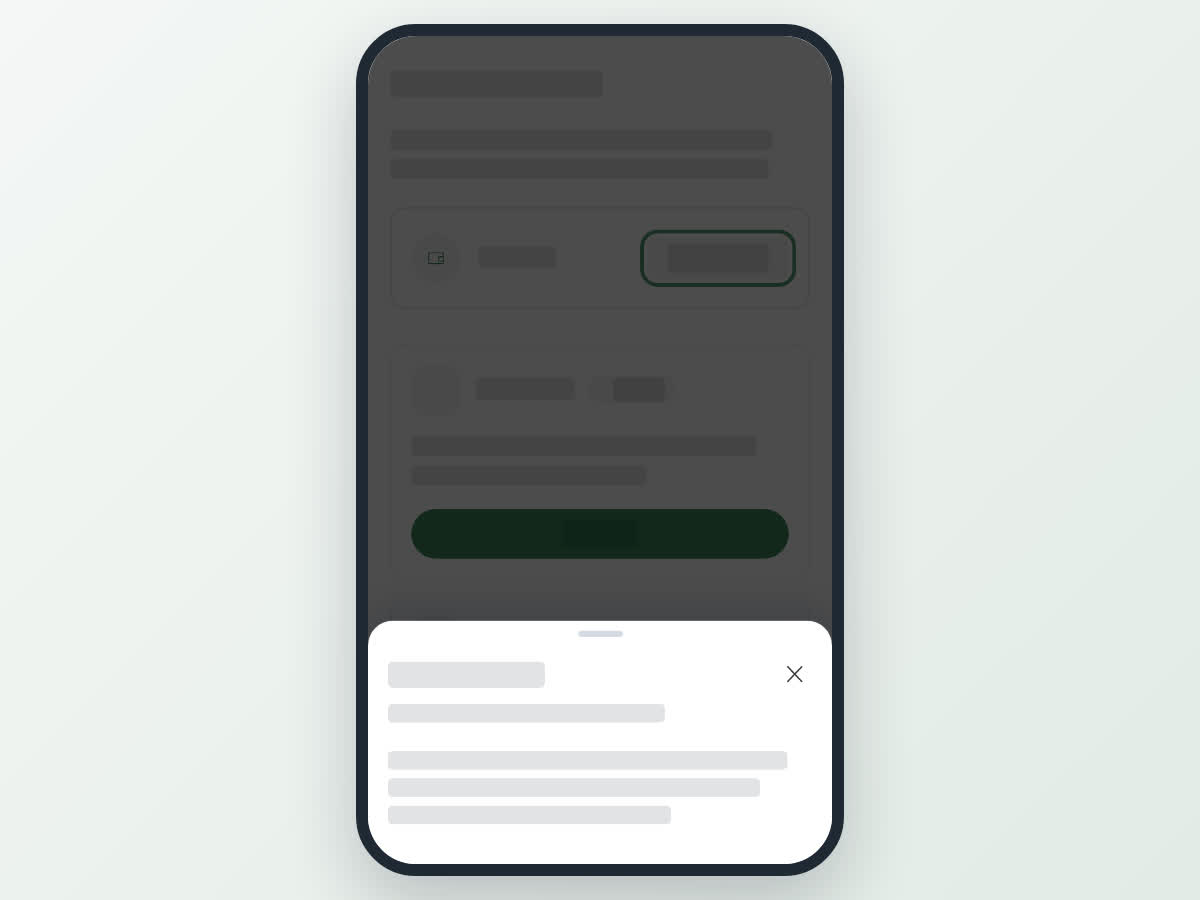
The Payment Wallet list open on a phone over the Manage Subscription page, listing the wallets that can pay for Boogir
Only wallets that are allowed to pay for Boogir appear in the list.

Check your balance

Tap Account in the bottom bar. Under Billing, tap Payment & Refund. The Pay tab shows your Payment Wallet's name and its balance under Usage credits.
The Pay tab of the Payment & Refund page on a phone, with the wallet name, the Usage credits balance and the Add Credits button

Buy credits in the Boogir app

01
Open Add CreditsOn the **Pay** tab of **Payment & Refund**, tap **Add Credits**.
02
Choose a packUnder **Top up**, tap a pack of 100, 300, 500 or 1,000 credits. Each pack shows its price in your app store's currency.
03
Review purchaseCheck the wallet the credits are **Added to**, your **Current balance**, the **Balance after purchase** and the **Total due now**.
04
Agree and confirmTick **I have read and agree to the Payments and Refunds Policy**, then tap **Confirm purchase** and approve the payment in the App Store or Google Play.
05
DoneBoogir shows how many credits were added to the wallet.

Related guides

  • Plans and pricing explains what each plan gives you.
  • Subscribe, renew or stop a plan walks through paying for a plan.
  • Payments, refunds and invoices covers your payment history and refunds.
3 views
0